
Verifying your CloudBox is receiving NTP
-
Connect your CloudBox to an HDMI monitor and use a USB mouse to navigate.
-
Right-click until you access the main settings page.
-
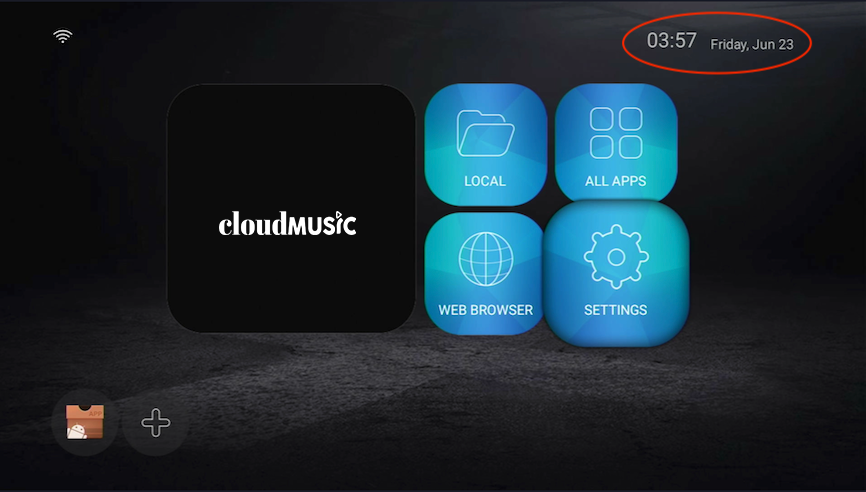
In the upper-right corner, you'll find the date/time in UTC (Universal Time Code), not local time.
-
Ensure that the time is set to UTC. Manually adjusting it otherwise can disrupt accurate stream playback tracking."
If you've verified that your CloudBox isn't receiving NTP, you can employ the following test to determine if NTP is the only issue affecting your CloudBox's connectivity.
Manually Updating the CloudBox's Time: A Step-by-Step Guide
Important Note: These settings will not be saved if the CloudBox experiences a power reset. This test serves two primary purposes: firstly, to help diagnose whether NTP is causing connectivity problems with your CloudBox, and secondly, to enable temporary streaming ability while you share this information with your IT team for firewall configuration review.
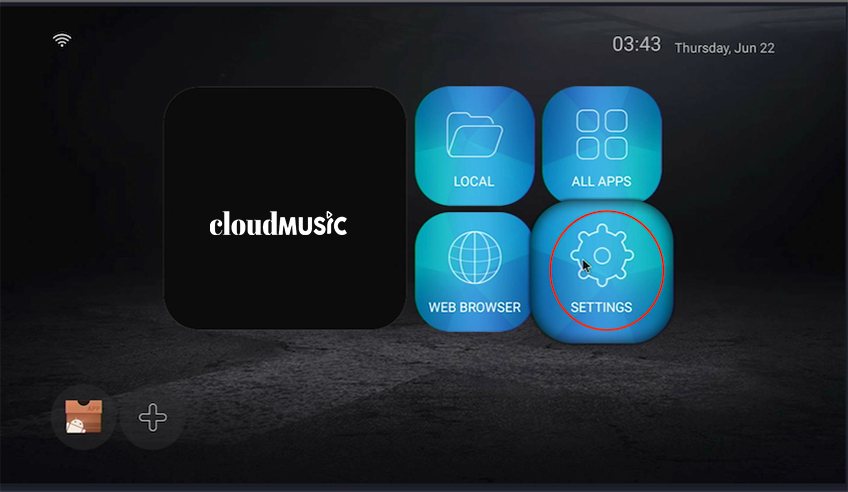
Step 1. From the main screen, select Settings
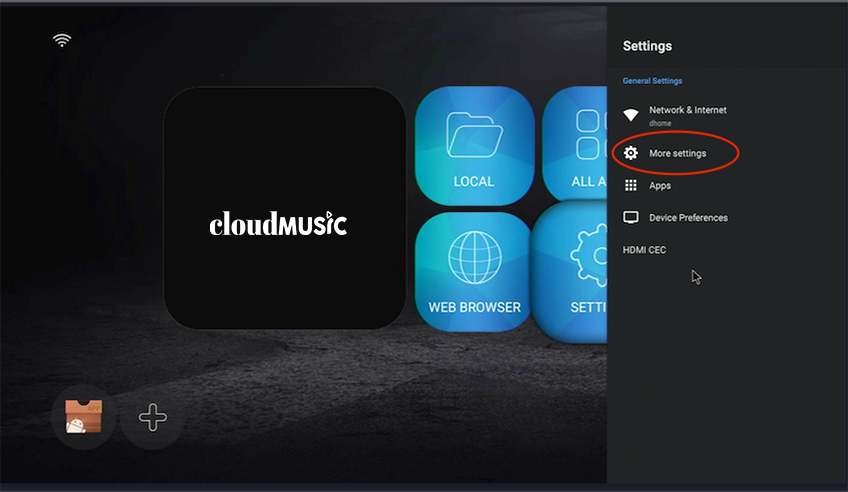
Step 2. Select More settings
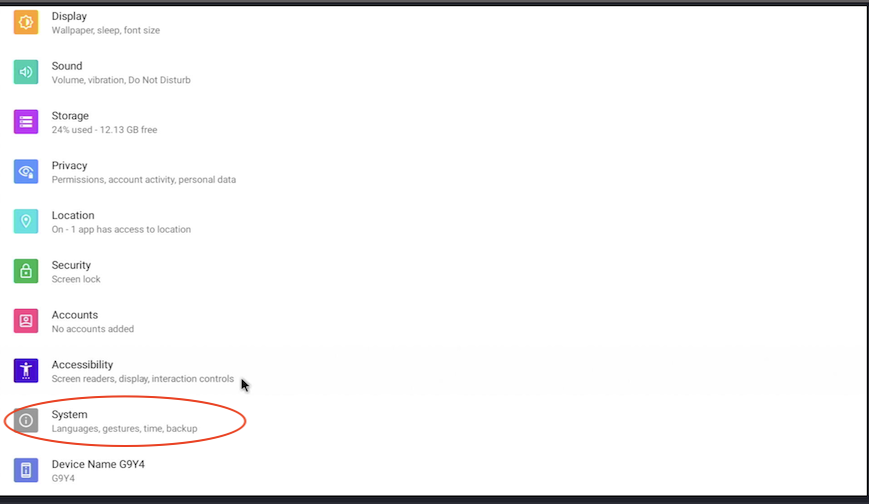
Step 3. Scroll Down and select system
 Step 4. Then Select Date & Time
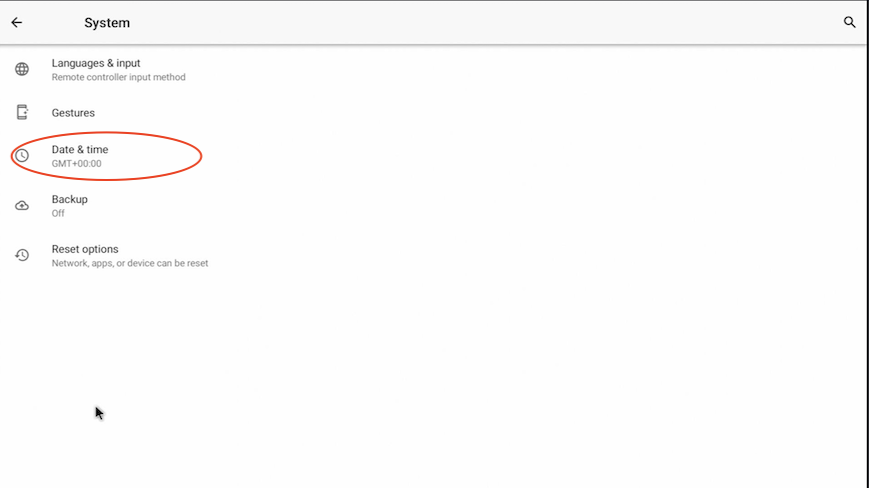 Step 5. Using the mouse de-select "use network-provided time"
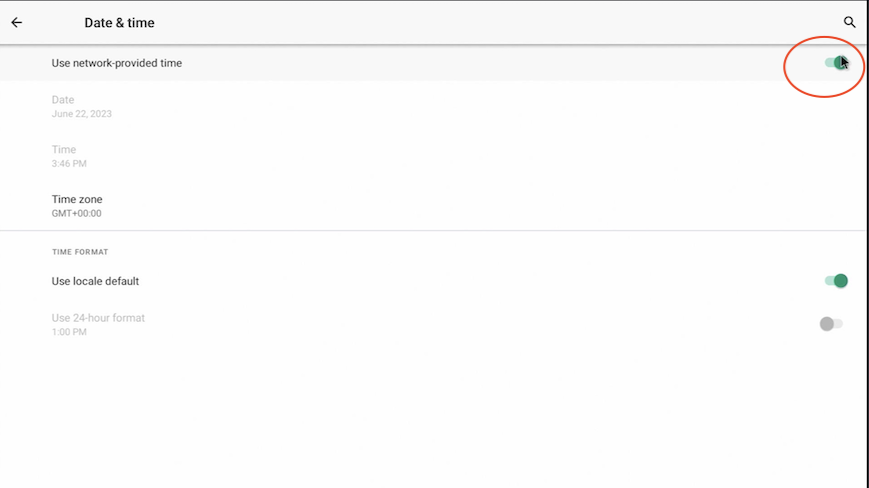 Step 6. Then Select Date
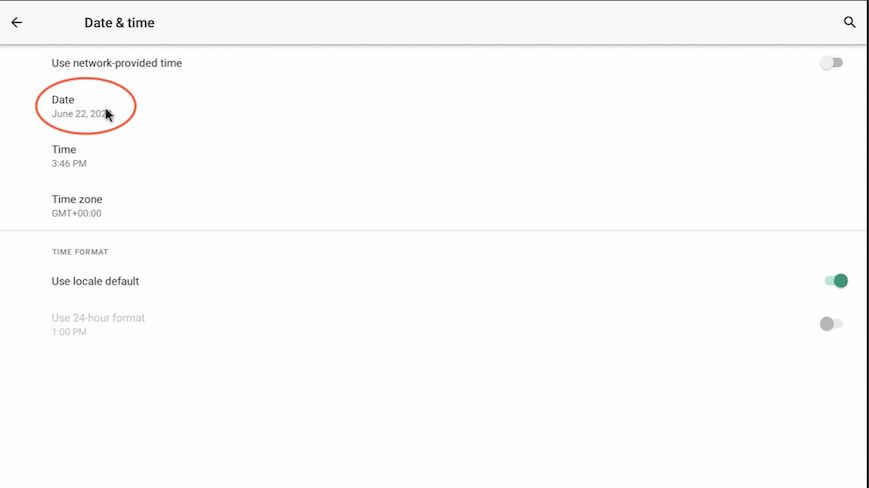 Step 7. Change the date to today's date to the current time in UTC then select ok
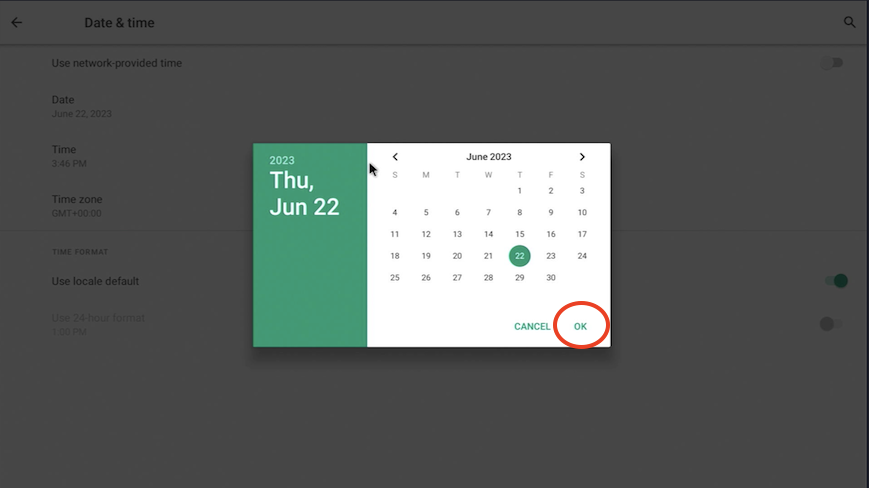 Step 8. Now go to Time
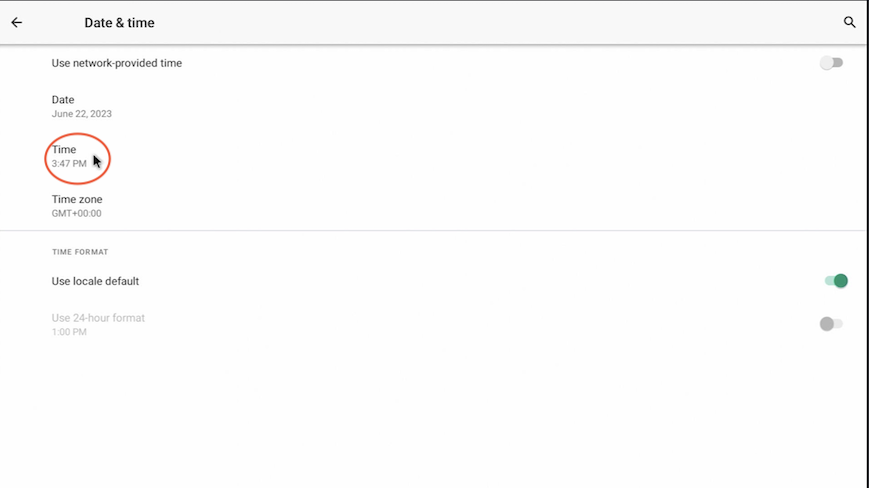 Step 9. Then update the time to the current time in UTC (NOT LOCAL TIME)
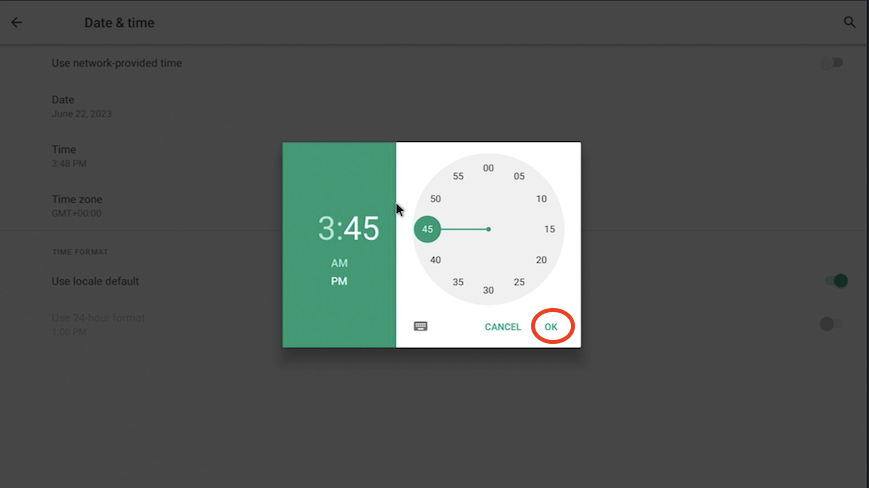 Step 10. To restore your music playback, simply right-click your way to the CloudBox's main menu and select the CloudMusic app. If the NTP was the sole hindrance to your streaming experience, your music should now resume.
