
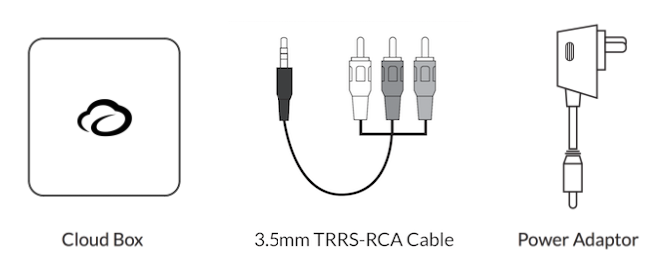
Package Contents
Installation Steps
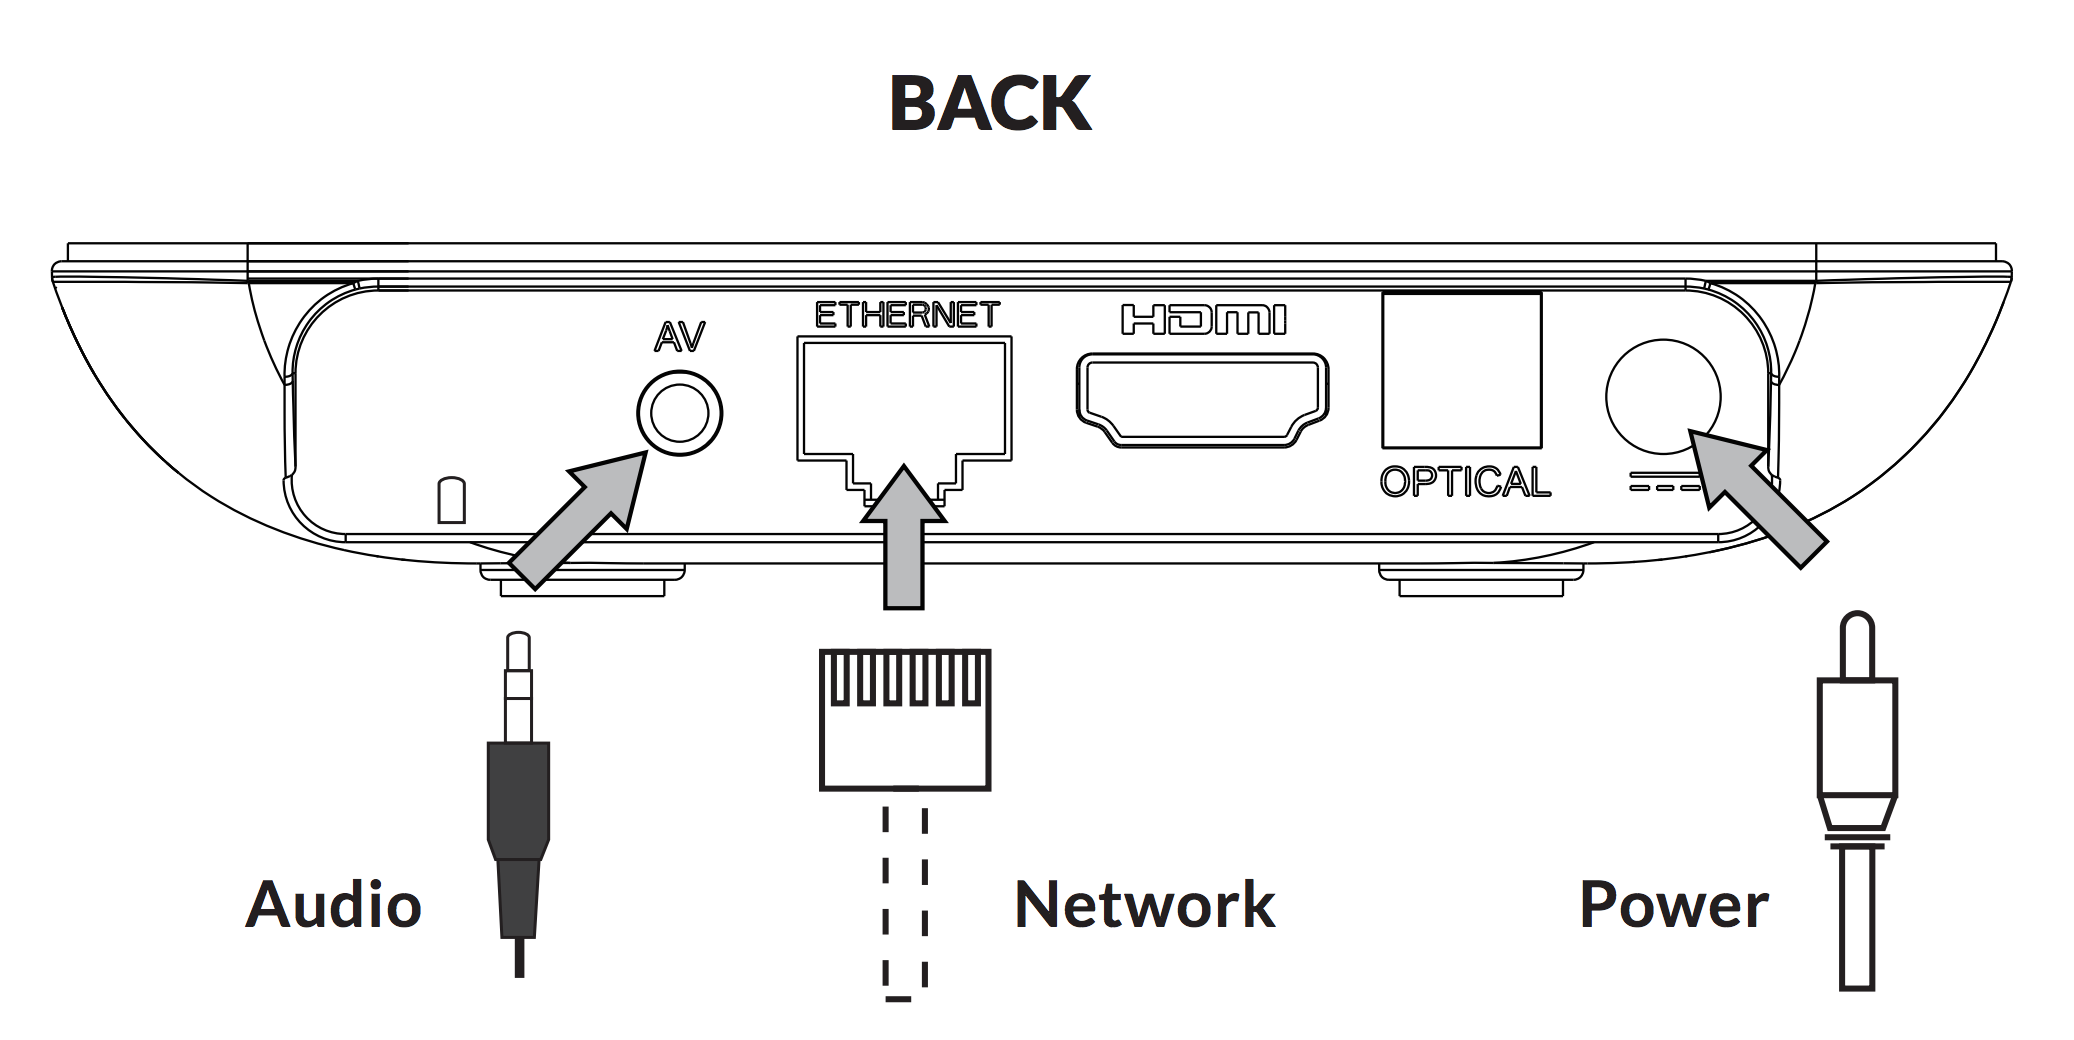
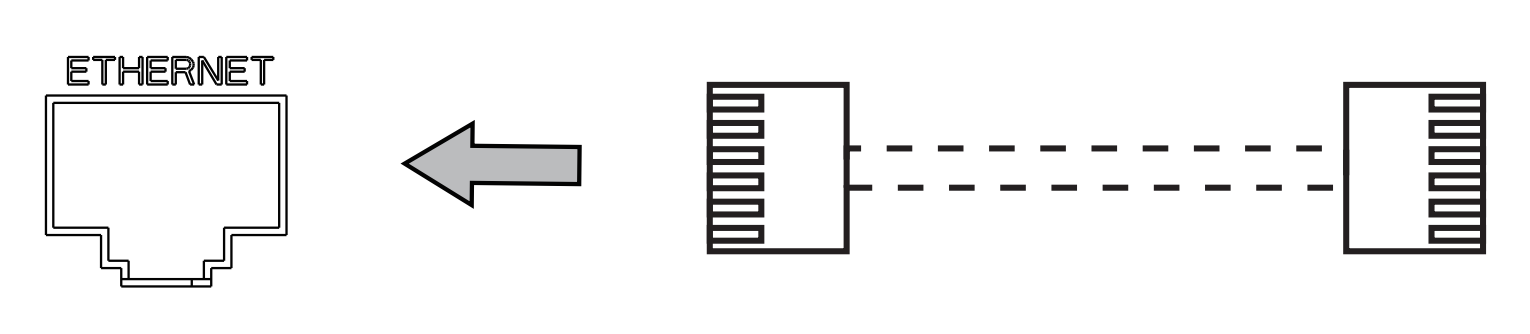
Connect network Ethernet Cable to active internet connection.
2. Connect 3.5mm TRRS end to AV port on back of CloudBox. Connect the RCA end of this cable (red & white ends) to your sound system. Note: HDMI, SPDIF and Bluetooth output can also be used, we are just showing the most common setup with RCA here. If after setting up you are hearing a buzzing/humming noise, then read our article on CloudBox Audio Connectors

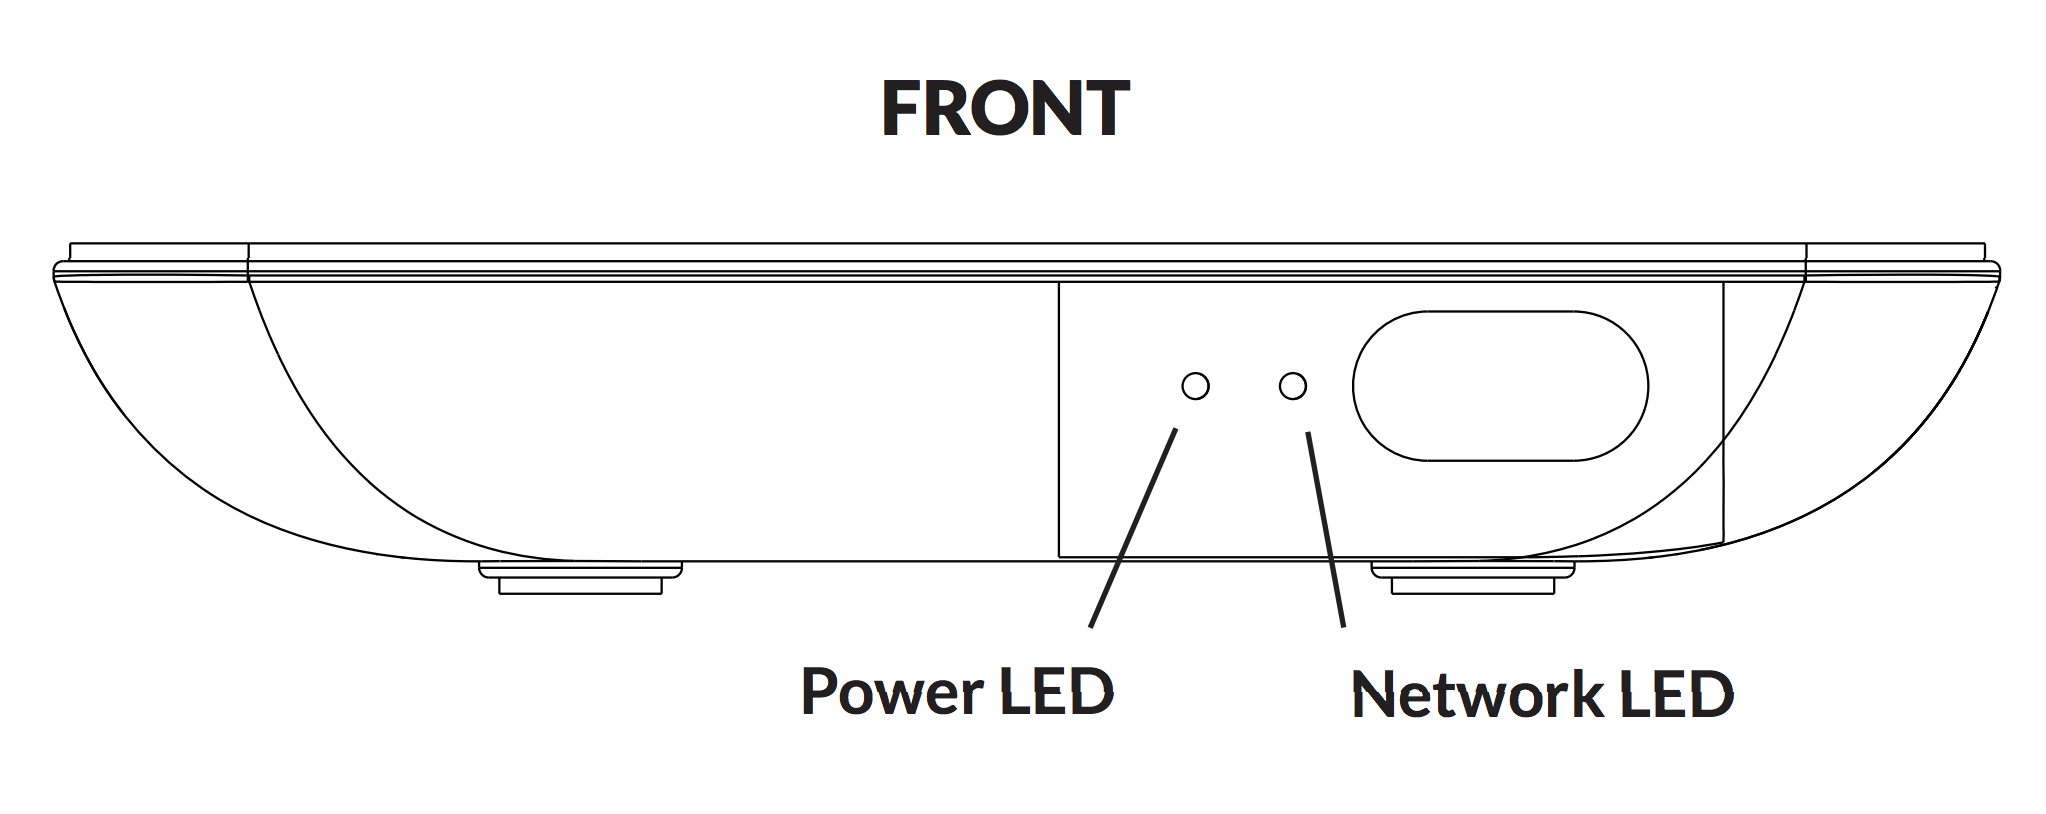
3. Plug in Power Adaptor and check that blue Power LED light is on.

4. Turn on sound system / amplifier and select audio input connected to CloudBox (Aux, Tape, etc.).
Within a couple of minutes, the CloudBox will begin playing music.
As an alternative to a hardwired Ethernet cable, the CloudBox can be configured to use Wifi. Please see the links below to setup WiFi on the CloudBox using your mobile device.
Cloudboxes support the following wireless authentication:
-
WEP
-
WPA/WPA2 PSK
-
802.1x EAP
Managing Music
-
From a computer web browser, log in to your music dashboard.
Note: If you select the Play Music Here button on the browser, it may cause the browser to start playing instead of the CloudBox.
-
On the Music page choose the station you would like to listen to. Selecting a new station will not change the music immediately. The previous song will finish playing out to ensure a seamless transition.
